Getting your data into the database is one of the most frequent tasks when working with OMERO. There are two different ways to import data into OMERO: Via the desktop app OMERO.insight or via the commandline client that comes with OMERO.py. Both software packages can be found on the OMERO download site https://www.openmicroscopy.org/omero/downloads/. While the desktop app is easy and intuitive to use, a drawback of using it is that it must remain open while the data is uploaded. It is therefore mostly useful for relatively small datasets of a few GB at max. Larger datasets are more reliably imported with the commandline client. Secondly, if the data resides on a remote computer, the commandline client may be your only option.
All example images in this post are taken from the "manual" of the 2021 OME community meeting social gatherings.
Importing with OMERO.insight
If not done already, install the latest release of OMERO.insight from https://www.openmicroscopy.org/omero/downloads/. At the time of writing this post, the current version is 5.6.2. Open the app. You will first be asked for your OMERO username and password. First-time users will have to add the OMERO server address by clicking the wrench icon, then the "+" icon.
The app window should look similar to this:
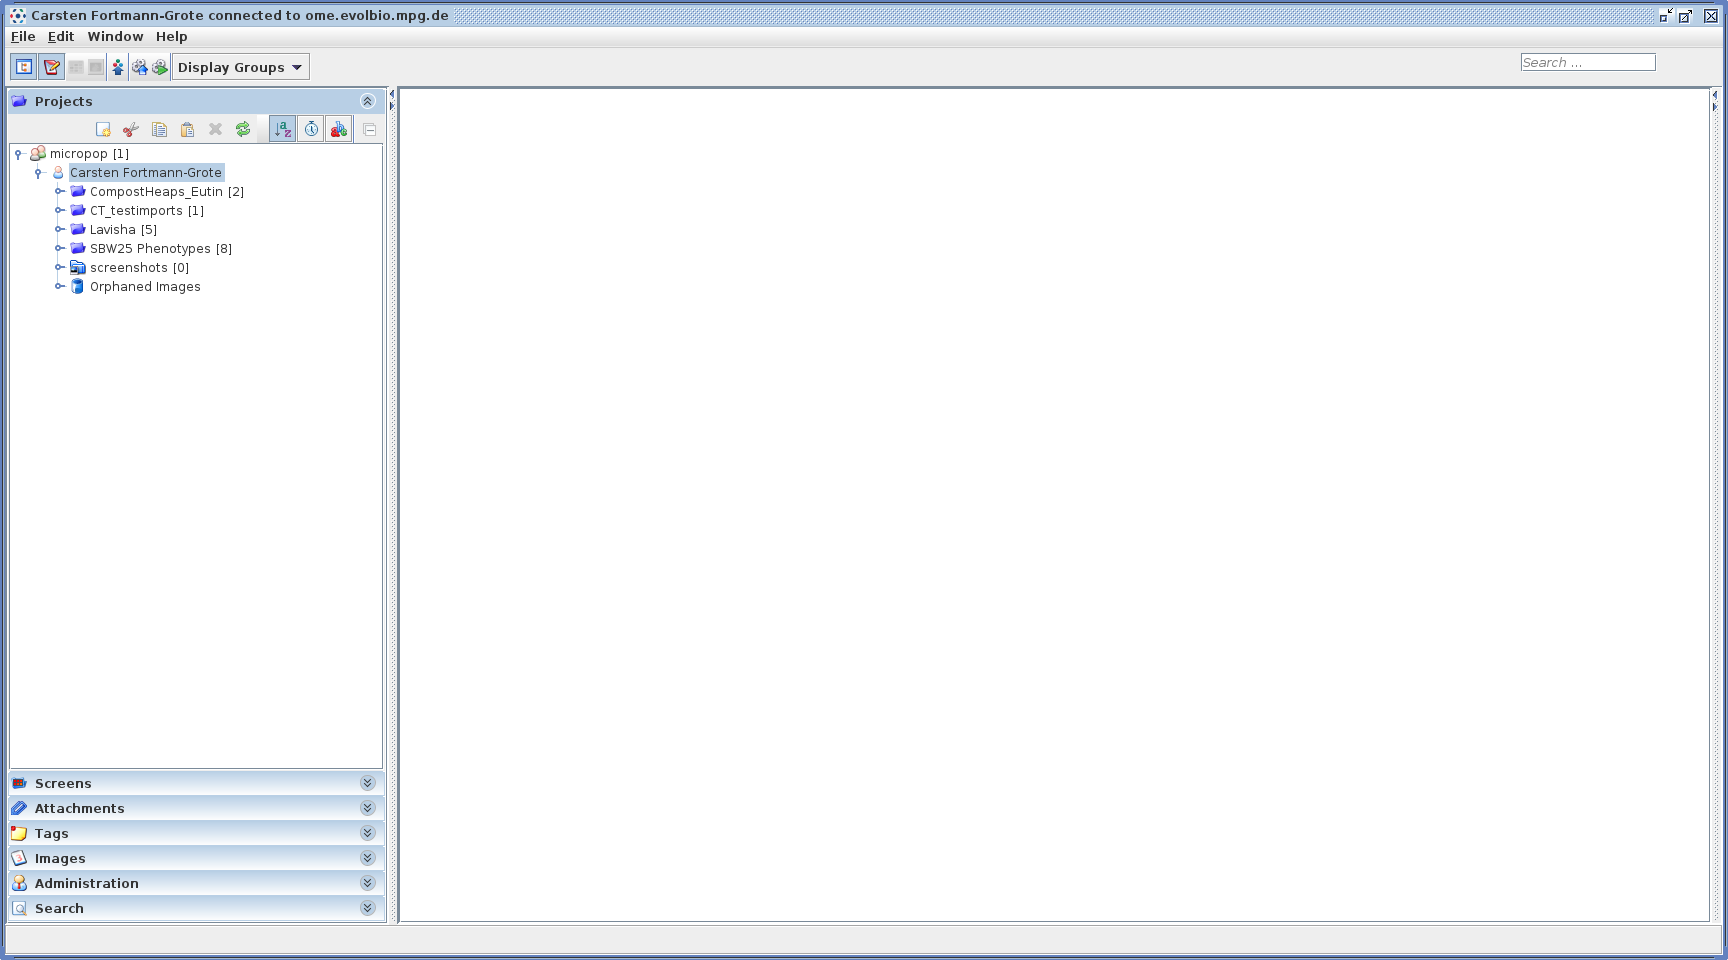
Now click the upload button  to launch the import dialogue
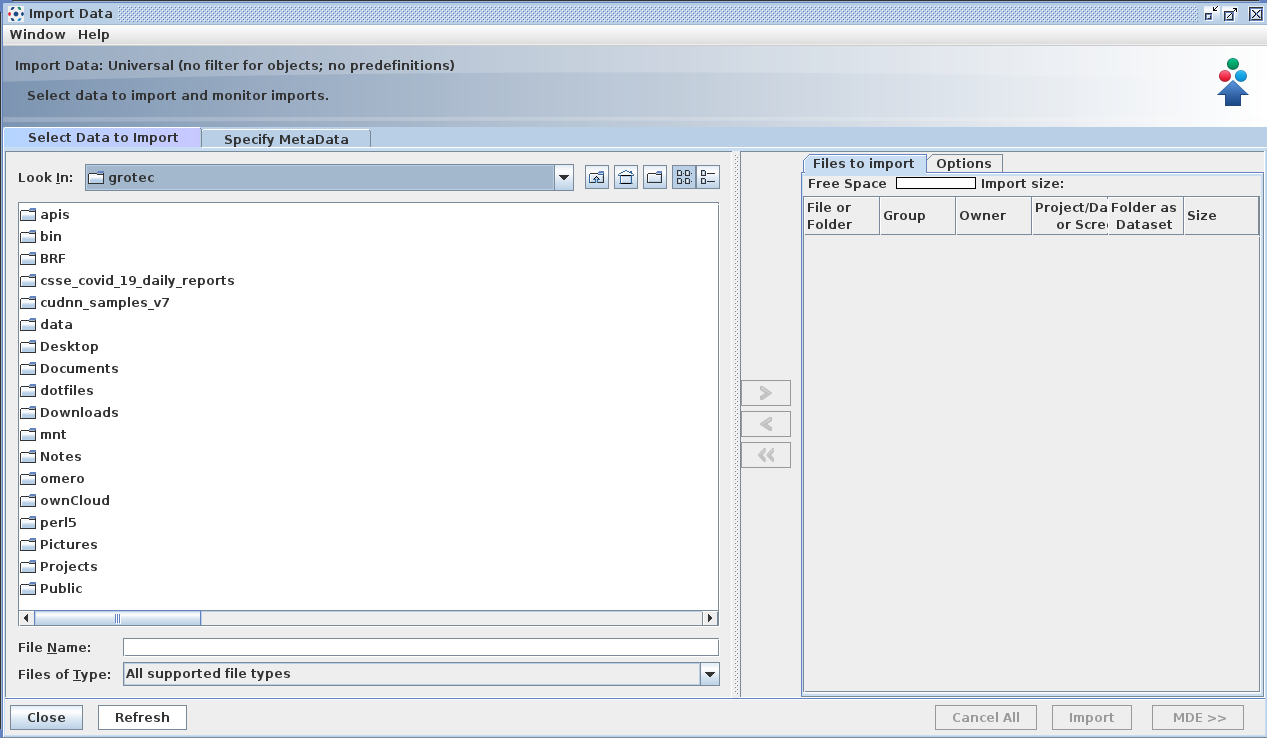
The left hand side of the import dialogue is a file browser. Navigate to the image or directory you wish to import. Selected files or entire directories can be staged for import with the carret button in the middle of the import dialogue window.
Upon selection, you will be prompted for the target project and dataset into which to import the new data. Either select "New From Folder", select an already existing project or dataset or create a new project or dataset.
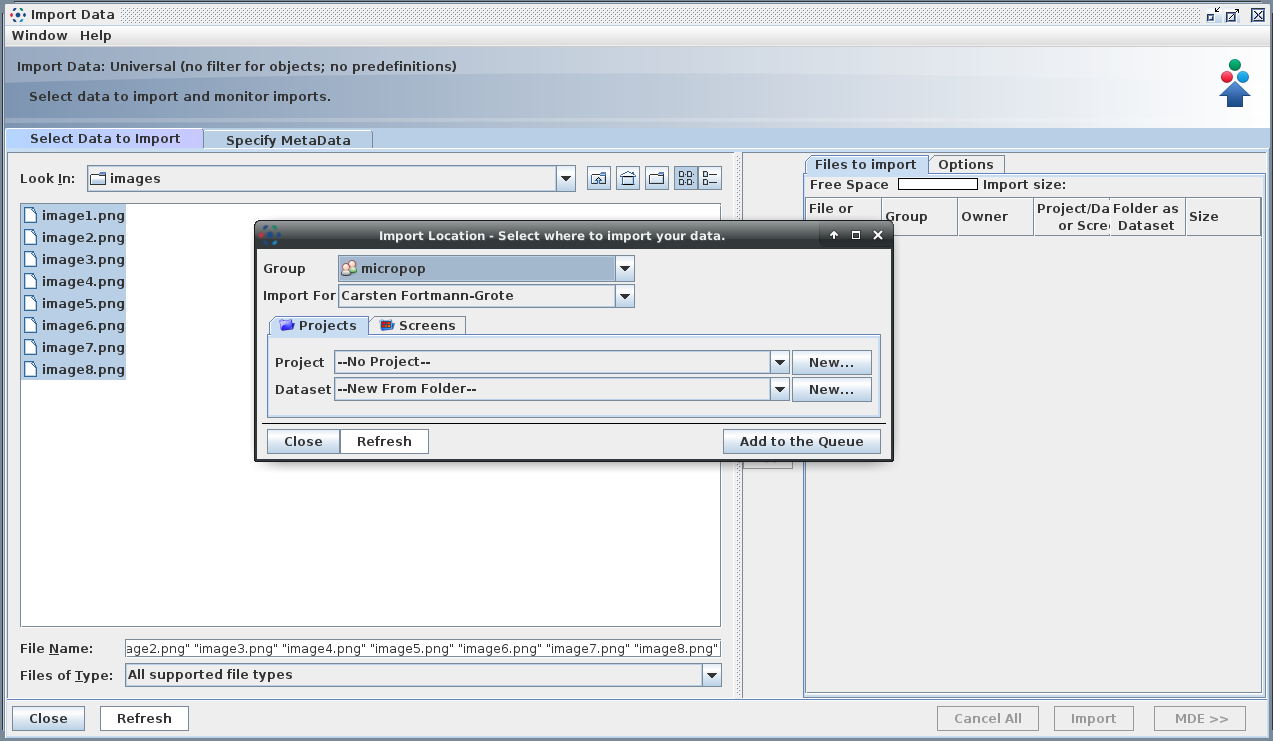
Click "Add to the Queue" and the images/directories to import will appear in the right hand side panel of the import dialogue window. To unstage, select one or multiple images and click the "<" icon. You still have the option to modify details of the import:
- Toggle the checkbox in the "Folder as Dataset" column to create a new dataset with the name of the containing directory.
-
On the "Options" tab:
- customize the naming of files and add tags,
- Speed up the import by skipping the thumbnail generation, calculation of min and max intensity, or checksum verification. If selected, thumbnails and min/max values will be generated when the image is accessed in OMERO.insight or OMERO.web.
- Lastly, you may manually set the pixel size in x, y, and z dimension if the values from the image metadata are false or missing.
-
MDE
- The MDE button creates a new window where you can view and edit the metadata information for selected images.
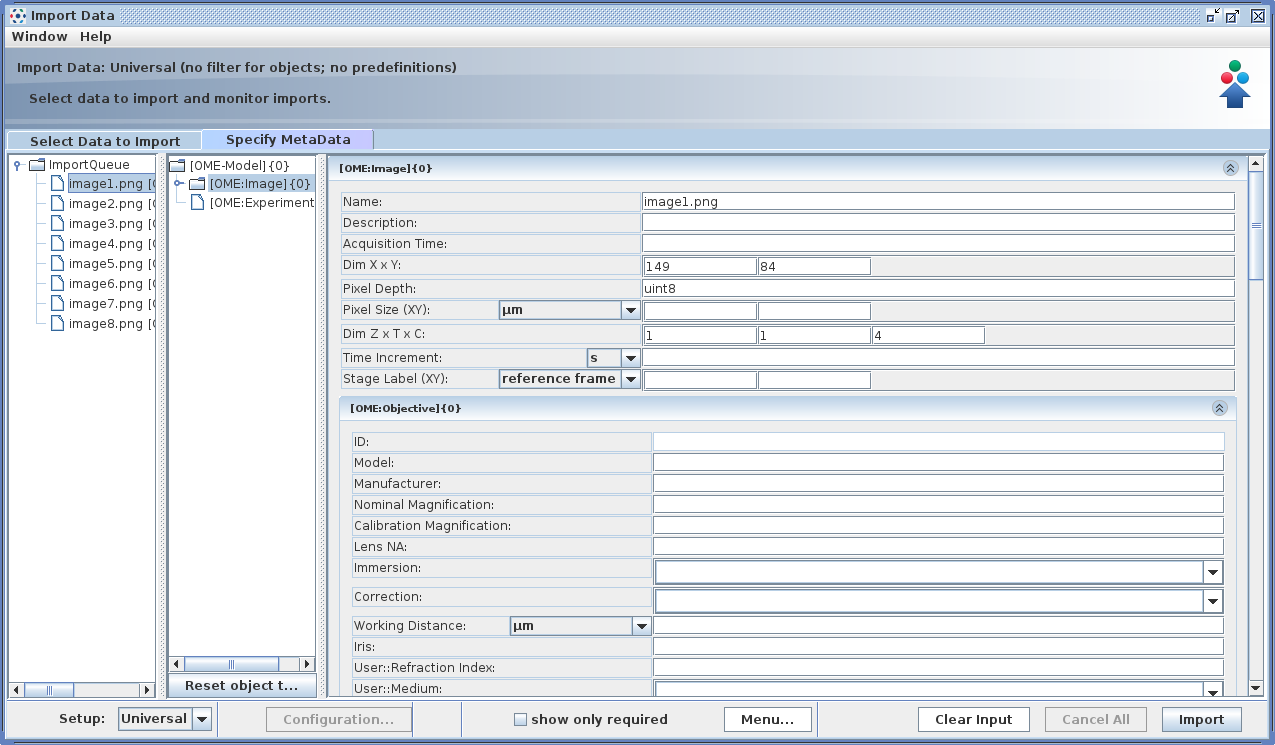
Each image's metadata is split into "OME:Image" and "OME:Experiment" sections. The image metadata is mostly populated from the image file's metadata fields, the Experiment section can be used to add metadata pertaining to the experimental conditions. For more information on the MDE tool, please consult the online documentation at https://omero-guides.readthedocs.io/en/latest/mde/docs/index.html .
Finally, click "Import" to launch the import process. Import progress will be displayed in a new tab.
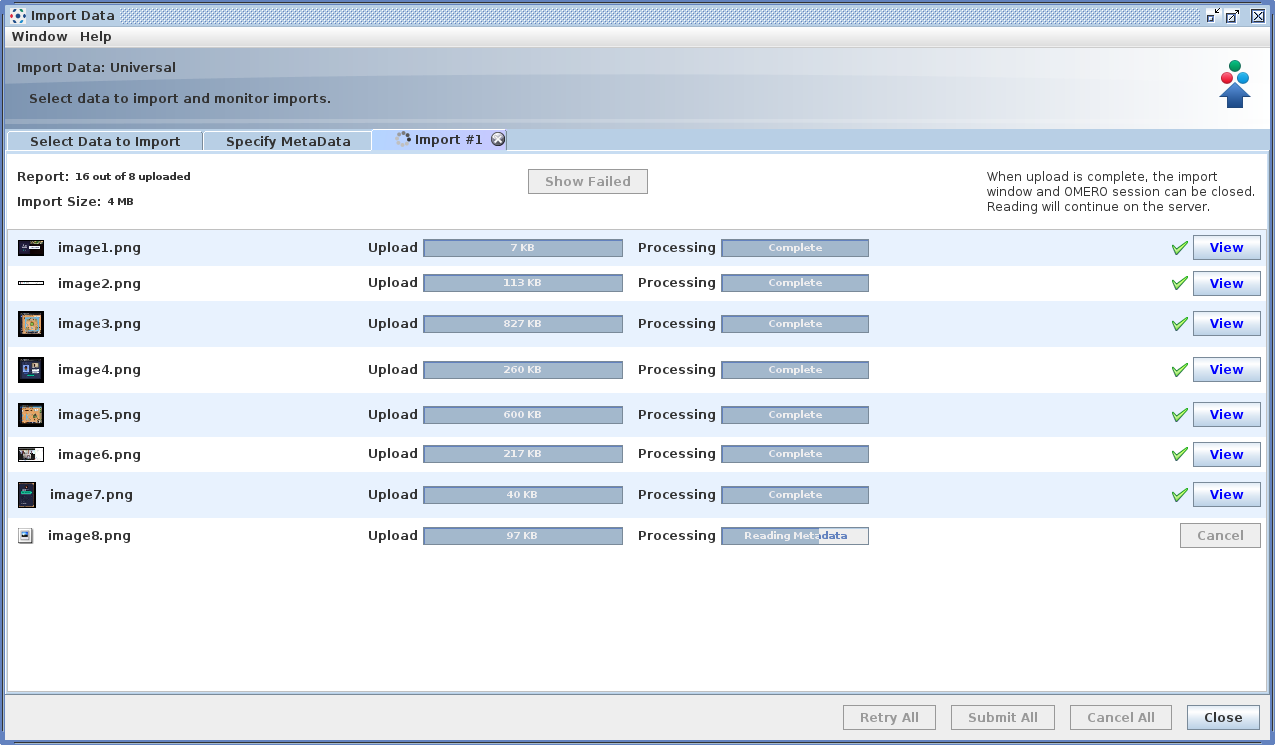
Theoretically, you can now prepare another import. However, we have experienced that imports started while another import is still running tend to crash more often than single imports. We therefore recommend to run only one import at the time.
Importing with OMERO commandline
The commandline interface to OMERO is part of the omero-py python package. You can install it locally with pip (under Linux and Mac) by running in your terminal
$> pip install omero-py --userWindows users should get anaconda for windows and install the conda package omero-py from the ome channel
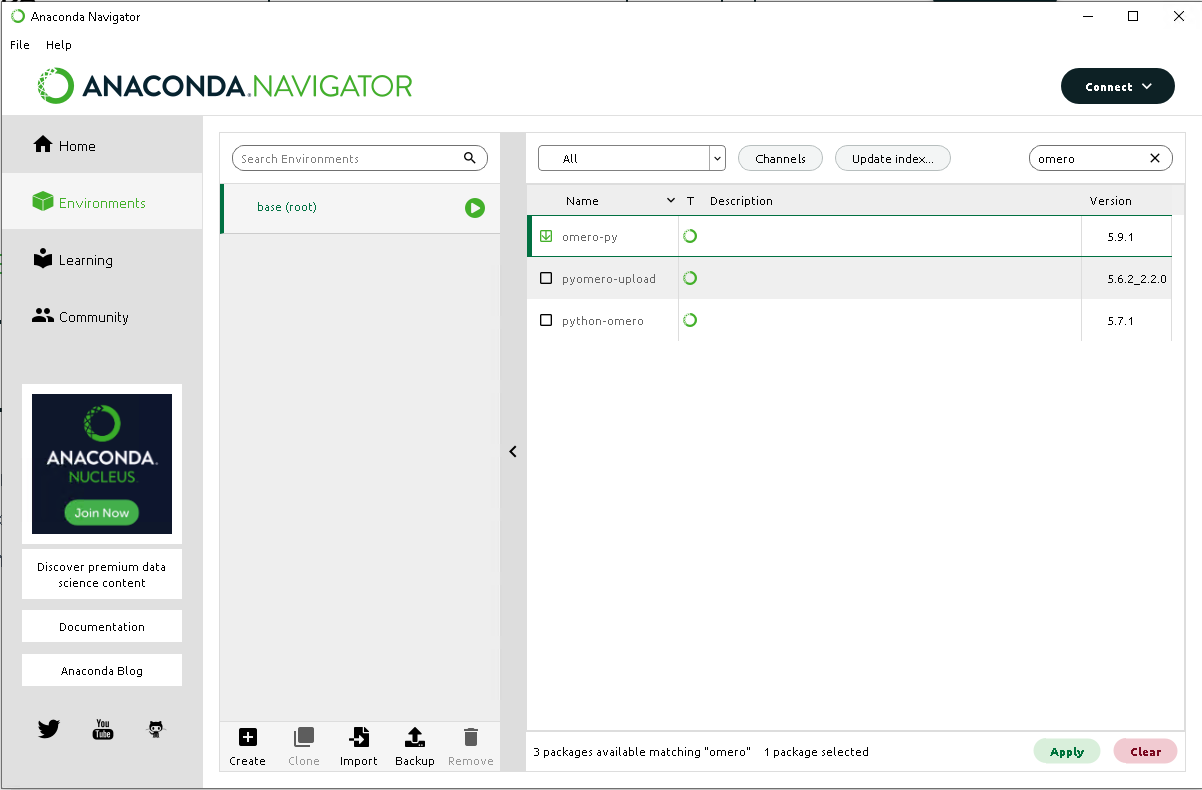
Login to omero
In the terminal (Windows users, open Power Shell command prompt from the anaconda navigator):
$> omero loginIf prompted for the server, enter 'ome.evolbio.mpg.de', then your username and password. You will then be in an active omero CLI session and won't have to enter your credentials again (as long as the session is active, the timeout is after 10 minutes of inactivity).
Importing an individual image
$> omero import IMAGE_FILENAMEExample:
$> omero import image1.pngYou will see a series of messages printed to the terminal. The last lines inform you about the image ID, fileset ID and success status of the import:
...
2021-10-25 14:21:52,494 4954       [l.Client-0] INFO   ormats.importer.cli.LoggingImportMonitor - IMPORT_DONE Imported  /home/grotec/Desktop/OME2021/images/image1.png
Image:2417573
Other imported objects:
Fileset:2419909

==> Summary
1 file uploaded, 1 fileset created, 1 image imported, 0 errors in 0:00:01.638
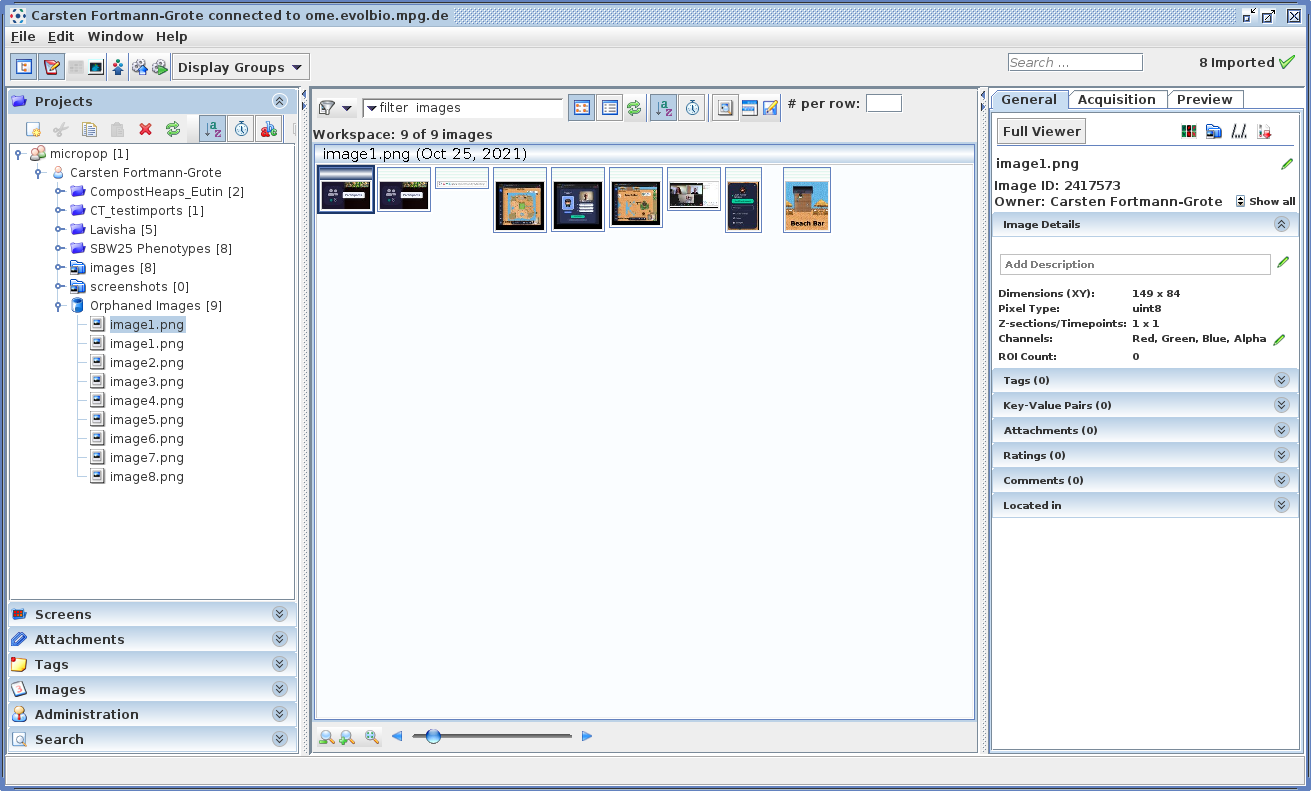
Note that we did not specify a target project or dataset. So where is the imported image? The default target is the "Orphaned Images" project:
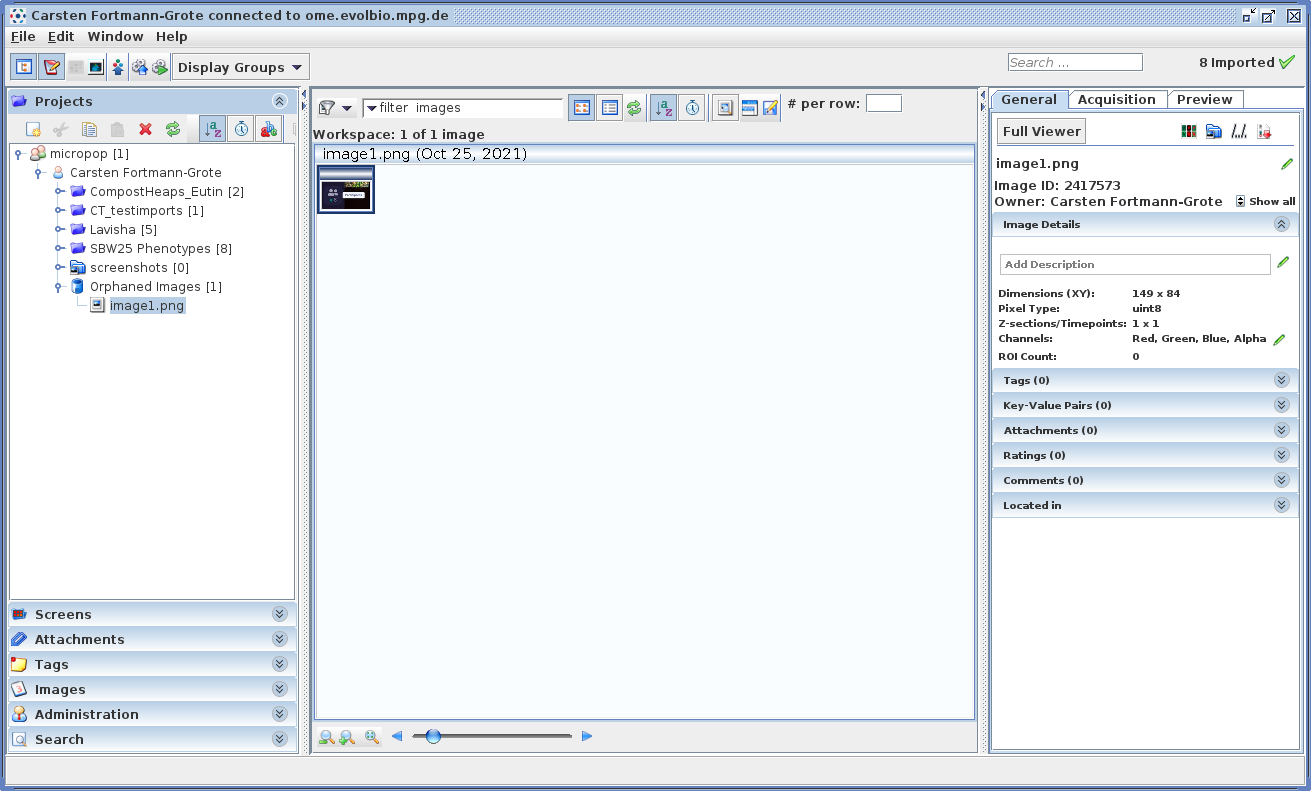
You can now create a new project/dataset in OMERO.insight or OMERO.web and move the imported images from "Orphaned Images" to the new location.
Importing all images from a directory
To import all images from a directory, run
$> omero import DIRECTORYAgain, the import targets the "Orphaned Images" project from where you can then move the images to better suited projects and datasets.
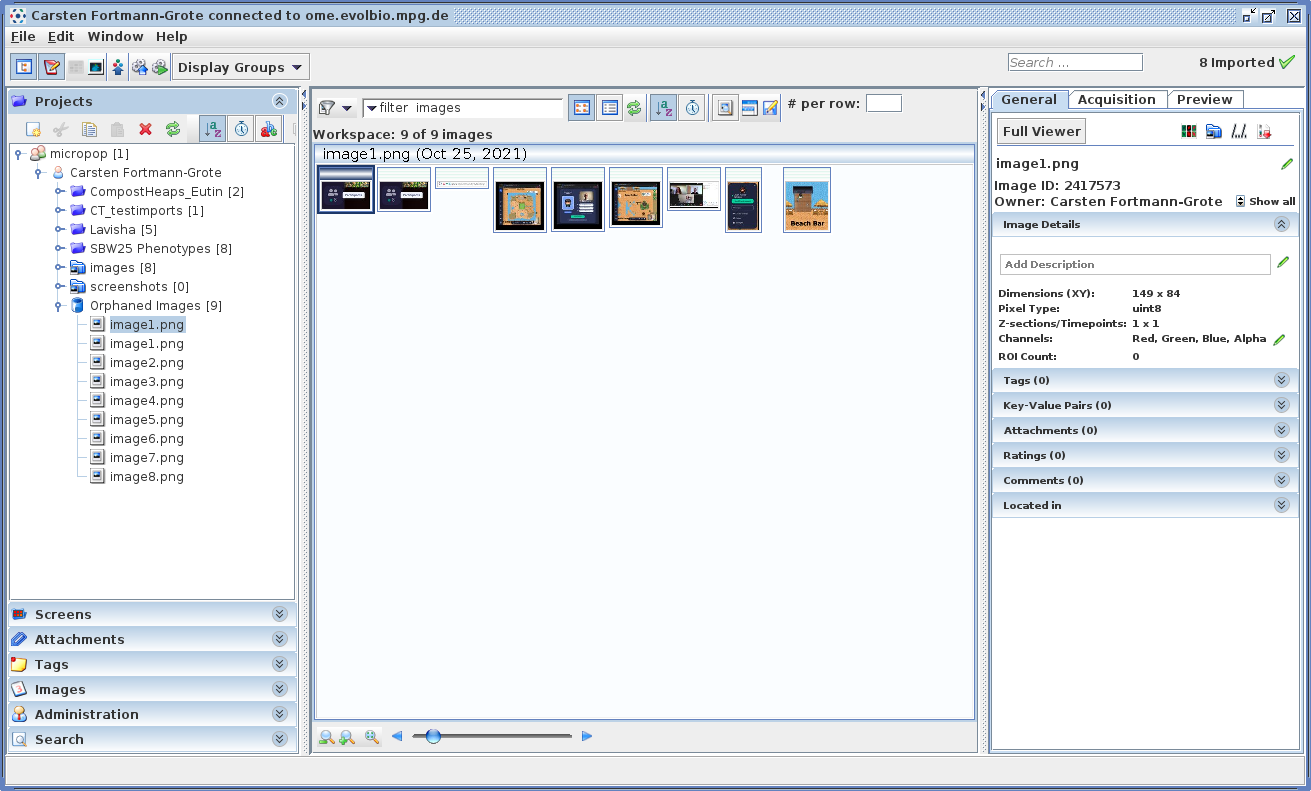
Note that the previously imported image "image1.png" was not overwritten but a new entry was created instead. You cannot accidentally overwrite images in the database if the original filenames coincide.
Importing into a new dataset via the CLI
Instead of importing to the default "Orphaned Images" first and then manually creating a project and directory, you can also create the targets first and import there directly. To create a new dataset:
$> omero obj new Dataset name=ManualImages
Dataset:2254
The new dataset ID is reported upon successful creation, otherwise an error message appears. Then, import your images into the new dataset with
$> omero import images -d Dataset:2254
Optionally, you may want to create a new project and establish a parent-child relationship between the new project and new dataset (as in this example).
$> omero obj new Project name=OME2021
Project:860
$> omero obj new ProjectDatasetLink parent=Project:860 child=Dataset:2254